Contactless Doorbell with If This Then That
IFTTT or If This Then That is free web software that enables us to create very simple programs for the IoT based on the available inputs and outputs. Lots of inputs and outputs are supported such as Amazon Alexa, lighting, SMS, social media, weather information. You can search for what they support.
IFTTT works with any web-browser as well as iOS and Android. We have designed this activity to work with the combination of any laptop and a smartphone. This activity should get you started thinking about what is possible. One aspect that is missing is the integration with Microsoft products, and this is because Microsoft has a competing product https://flow.microsoft.com/en-us/. If you are looking to integrate with and automate Outlook Calendar, email, et cetera then Microsoft Flow would be something for you to check out. Where Microsoft Flow is aimed at automating repetitive administrative tasks in organisations, IFTTT is more things oriented. Spend a few minutes looking through what IFTTT supports here: https://ifttt.com/services.
With products such as IFTTT and Microsoft Flow, the ability to automate processes and have data better flow through organisations with minimal human interaction will likely become an important skill for many IT and non-IT professionals in the near future.
In this IFTTT activity, you will create an applet that will take an input "This" and create an output "That".
IFTTT Doorbell
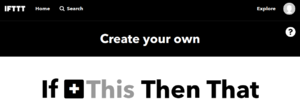
In this exercise, we will build a contactless virtual doorbell using IFTTT (If This Then That). On your computer, go to https://ifttt.com/ and create an account. After you have created an account go to create or https://ifttt.com/create
This
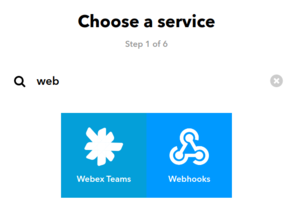
Click on "This", Then search for and click on Webhooks then click receive a web request.
Create and name your event "Doorbell"
You will be brought back to the section where you can click on that.
That
Click on "That"
Then search for and click on email then click on send me an email. You will have to verify your inbox with a pin.
Change the subject line to Doorbell then click create action.
Click Finish to end the task. Now we need to configure the URL trigger
Configuring the trigger
Click the user icon in the top right of the page and then click on "My Services".
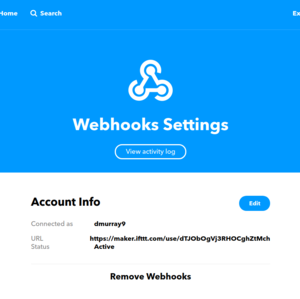
Then click on webhooks then settings. Copy the URL, then place it into a new browser window.
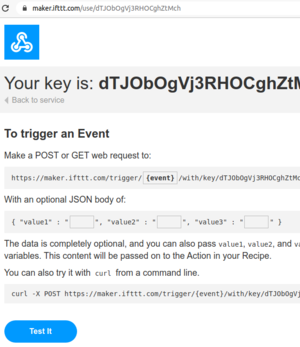
You will be taken to your own Webhooks page. Copy the URL. An example from my page is shown below:
URL: https://maker.ifttt.com/trigger/{event}/with/key/dTJObOgVj3RHOCghZtMch
and paste this into a text editor. You can use notepad or whatever is available on your system. Replace:
{event}
With:
doorbell
So in my example, my trigger URL looked like:
https://maker.ifttt.com/trigger/doorbell/with/key/dTJObOgVj3RHOCghZtMch
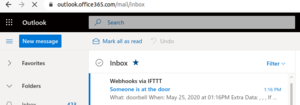
If you now paste this link into a browser then you should notice that you have received an email in your inbox, indicating that someone is at the door.
If you think creatively the trigger could, of course, be anything, a motion sensor, the action could also be anything, turn on some lights, send an SMS.
QRcodes
Users don't like long URLs. Pressing a doorbell is easy but typing in a long URL is hard so we will turn the URL trigger into a QRcode.
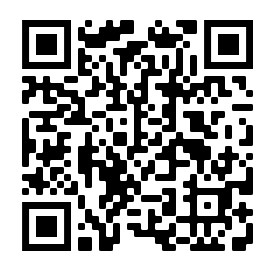
Go to this website https://www.qr-code-generator.com/ and paste in your trigger URL. Generate a QR code and then display it on your computer screen.
Open the camera app on your phone and then point it at the screen. It should identify the QRcode, you can click to visit the link and generate the email.
Reflection
So obviously we could print out some instructions for users to read telling them how to fire the doorbell. If we wanted we could have multiple that's...
